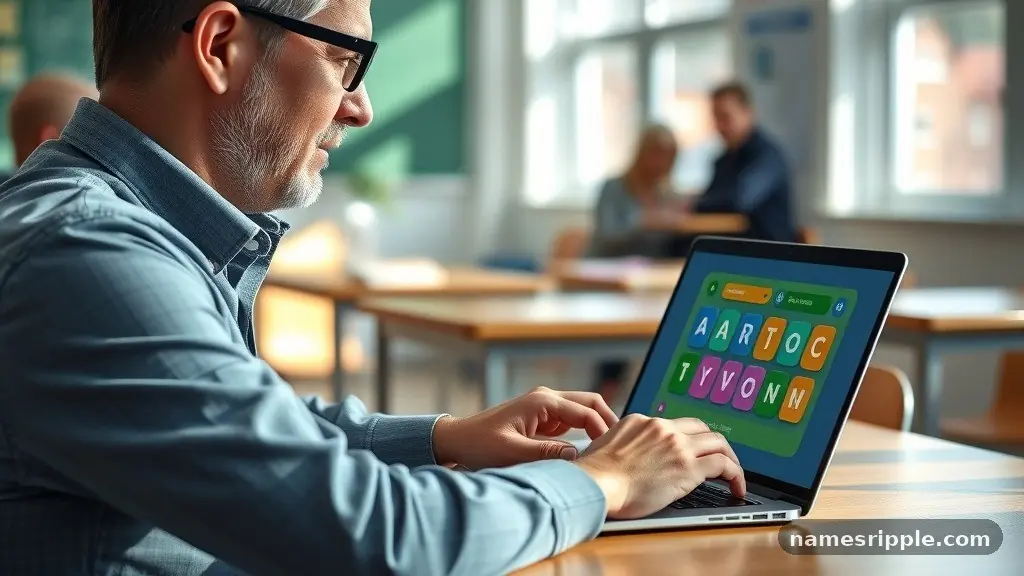
How to Host a Gimkit Game: The Complete Setup Guide
Learning how to host a Gimkit game is a straightforward process that allows educators and hosts to turn any set of study materials into an interactive, competitive experience. Whether you are working in a physical classroom or a remote environment, the platform provides the tools to engage participants instantly through gamification.
By following a few simple steps, you can launch a session that encourages active learning and keeps students motivated throughout the lesson. This guide walks you through the essential setup, configuration, and management required to facilitate a successful session for your group.
Getting Started with Your First Kit
Before you can host, you need a “kit,” which serves as the foundation for your session. A kit is essentially a collection of questions and answers that you curate based on your specific curriculum or learning objectives.
You can create these from scratch by entering your own data, or you can browse the vast library of existing kits created by other educators. If you are starting from zero, the manual editor allows you to input text, upload images, and even import data from spreadsheets to save time.
Once your kit is ready, it sits in your dashboard, waiting to be deployed. You do not need to worry about complex server configurations or hardware requirements, as the entire platform is browser-based.
Simply log into your account, locate the kit you wish to use, and prepare to launch it. The ease of access is one of the primary reasons teachers gravitate toward this tool for daily formative assessments.
See More: WebTPA: What It Is and How Employer Health Plans Actually Work
Selecting the Right Game Mode
The variety of modes is what makes the platform stand out from traditional quiz tools. When you click on your chosen kit, you are presented with a selection of game types, each offering a unique set of rules and mechanics.
Some modes focus on individual progress, while others emphasize team collaboration or strategic resource management. Choosing the right one depends heavily on your group’s age, the time available, and the specific learning goals for that session.
For instance, “Trust No One” introduces an element of social deduction, while “Snowball” or “Boss Battle” focuses on collective goals. You should experiment with different options to see which ones resonate best with your audience.
The platform regularly updates its library, so keep an eye out for new additions that might offer fresh ways to engage your group. Always review the brief description provided for each mode to ensure it aligns with the energy level you want to cultivate.
Configuring Game Options
After picking a mode, you will arrive at the configuration screen where you define the parameters of the session. This is where you tailor the experience to fit your specific needs, such as setting a time limit or choosing whether participants can use specific power-ups.
You can toggle settings like “Handicap,” “Catch-up,” and “Goal” to control the pace of the game. These settings are crucial for maintaining a fair and exciting environment for all players.
You might also consider adjusting the audio settings or the level of feedback participants receive after answering. If you are using the session as a competitive challenge, you might want to hide certain statistics or enable leaderboard updates to keep the pressure high.
Take a moment to walk through these settings carefully before clicking the start button. A well-configured session prevents confusion and ensures that the focus remains on the learning material rather than the game mechanics.
Launching the Live Game
Once you have finalized your settings, you are ready to launch the live game. Clicking the host button generates a unique game code that acts as the gateway for your participants.
This is the moment when the session officially becomes interactive. Your screen will display instructions for how participants can join, usually involving a web address and the code you just generated.
You must ensure that your participants can see the screen where this information is displayed. If you are in a physical classroom, projecting the code on a smartboard is the standard practice.
For remote settings, sharing your screen through a video conferencing tool works perfectly. The lobby will begin to populate with names as soon as participants enter their information, giving you a real-time view of who is ready to begin.
Managing Student Participation
As participants join, your dashboard provides a live view of the lobby. You can monitor the list of names, remove any that appear inappropriate, and verify that everyone is in the room.
This stage is vital for maintaining a safe and focused environment. The platform allows you to lock the room if you want to prevent latecomers from joining after a certain point.
Once everyone is present, you have the final authority to click the start button. During the session, you can pause the game if you need to address the group or clarify a concept.
This level of control ensures that you are not just a passive observer but an active facilitator of the learning experience. Monitoring the engagement levels allows you to decide if you need to provide additional context or encouragement during the session.
Reviewing Performance Reports
One of the most powerful features of hosting a session is the ability to generate detailed reports afterward. Once the game concludes, the platform compiles data on how each participant performed, which questions were missed most frequently, and where the group struggled.
This information is invaluable for informing your future lesson plans. You can access these reports directly from your dashboard under the “Reports” tab.
These analytics go beyond simple scores; they offer insights into individual and class-wide comprehension. If a large portion of the group misses a specific question, you know exactly which topic needs to be revisited in your next lecture.
You can also export this data for your records or to share with administrators. This feedback loop is essential for turning a fun activity into a productive educational tool.
Comparing Subscription Tiers
While the basic version of the platform is powerful, many hosts choose to upgrade for additional features. The pro version typically includes access to more modes, advanced reporting, and the ability to assign homework outside of a live setting.
If you find yourself using the platform daily, the investment can significantly streamline your workflow. The following table outlines some of the differences between the free and premium experiences.
| Feature | Free Account | Pro Account |
|---|---|---|
| Game Modes | Limited | Full Access |
| Data Reports | Basic | Detailed |
| Assignment Types | Live Only | Live & Homework |
| Customization | Standard | Advanced |
Common Troubleshooting Tips
Even with the best preparation, technical hiccups can sometimes occur during a session. Most issues are related to internet connectivity or browser compatibility.
If a participant cannot join, first check that they are typing the correct code and navigating to the right URL. Sometimes, clearing the browser cache or refreshing the page is enough to resolve minor glitches.
For more complex issues, you may want to consult the official support resources. You can find more information about Gimkit help and support documentation to resolve recurring technical problems.
Always have a backup plan, such as a traditional quiz or a group discussion, just in case the technology fails. Staying calm and adaptable is the hallmark of an effective host who keeps the learning momentum going regardless of the circumstances.
Frequently Asked Questions
Is it possible to play by myself?
Yes, you can play by yourself to test a kit or practice the mechanics of a specific mode. Simply launch the session as you normally would and join from your own device to see how the experience feels from a player’s perspective.
What should I do if a student enters an inappropriate name?
The host dashboard allows you to view all participants currently in the lobby. You can click on the name of any participant to remove them from the session immediately before the game begins.
Can I host a game without a formal account?
While you can participate in many games without an account, hosting your own requires a registered account to save your kits and access the reporting features. Creating an account is free and only takes a few moments.
How do I share the game code with remote students?
You can share the code by reading it aloud, typing it into the chat box of your video conferencing software, or by sharing your screen so that all participants can see the code clearly on their own devices.
Are the games suitable for all age groups?
The platform is designed to be highly customizable, making it suitable for a wide range of ages. Hosts can choose content that is appropriate for their specific group, ensuring that the difficulty and subject matter are always age-appropriate.
Final Thoughts on Hosting
Mastering the art of hosting a Gimkit game opens up new doors for classroom engagement and student participation. By focusing on the preparation of your kits, selecting the right modes for your audience, and leveraging the post-game reports, you can transform your teaching practice.
The simplicity of the setup ensures that you spend less time troubleshooting and more time facilitating meaningful learning. Whether you are a seasoned user or just getting started, the key is to experiment with the various settings to find what works best for your unique group.
As you become more comfortable with the platform, you will find that it becomes a natural part of your instructional toolkit. Don’t be afraid to try new modes or ask for feedback from your participants to keep the experience fresh and exciting.
If you encounter any challenges, remember that the community and support resources are always there to help you along the way. Start your next session with confidence and enjoy the energy that interactive learning brings to your environment.


One Comment